Ask us anything
How to fix tension on Kenmore 158 sewing machine?
Fixing tension issues on a Kenmore 158 sewing machine involves adjusting the upper and lower thread tensions to ensure balanced and even stitching. Tension problems can result in loose or tight stitches, thread bunching, or fabric puckering. Here's a step-by-step guide to help you fix tension on your Kenmore 158 sewing machine: Thread and Needle: * Ensure you're using the correct type and size of thread for your fabric. * Make sure the needle is suitable for the fabric and is properly installed with the flat side facing the back. Clean the Machine: Remove lint, debris, and old thread fragments from the tension discs and bobbin area using a brush or compressed air. Re-thread the Machine: * Raise the presser foot to release tension disks. * Rethread both the upper thread and bobbin thread according to your machine's threading guide, ensuring they follow the correct paths and are securely seated in the tension discs and guides. * Set Both Tension Dials to "Normal": * Set both the upper thread tension dial and bobbin case tension to their normal or default settings. Perform a Test Stitch: * Use a scrap fabric similar to what you'll be sewing to perform a test stitch. Evaluate the tension balance on both sides of the fabric. Adjust Upper Thread Tension: * If the upper thread is too tight, it will cause the bobbin thread to show on the upper side of the fabric. To reduce tension, slightly lower the upper thread tension dial. * If the upper thread is too loose, it will cause the bobbin thread to show on the underside of the fabric. To increase tension, slightly raise the upper thread tension dial. Adjust Bobbin Case Tension: * If the upper thread tension is adjusted but the issue persists, you might need to adjust the bobbin case tension. * Use a small screwdriver to adjust the tension screw on the bobbin case. Turning it clockwise increases tension, while turning it counterclockwise decreases tension. Test and Fine-Tune: * Test your adjustments with each small change to see how it affects the stitching. Make gradual adjustments until you achieve balanced stitching on both sides of the fabric. Document Settings: * Once you find the correct tension settings, note them down for future reference. Practice: * Practice on scraps of the fabric you intend to sew before working on your project to ensure that the tension is consistently balanced. Remember that adjusting tension requires patience and practice. Start with small adjustments, test frequently, and don't hesitate to rethread your machine if necessary. If you encounter difficulties or if the issue persists, consulting your sewing machine's manual or seeking guidance from a sewing machine repair professional can be helpful.

Similar Questions
- How long does the heating element last in my Kenmore Elite HE3 dryer?
- Does Frigidaire clothes washer drain hose have a check valve?
- I have an appointment today for you guys to come down and look at my dishwasher. Now, there's just a little bit of asphalt work in front of our garage, and that's where we have appliance park in our garage, but that's totally fine. Can you dispatch the repair person so I can move a cone so they can park? Can they call me when they are on their way so I can rearrange it? Could you also call my husband? He's at the house and might not hear when somebody comes because of all the noise.
- How do I clean my drains?
- What If I Need Quick Answers To Other Questions I May Have About My Appliance?
- Is it okay to install the TK-540X3-PIH model in regions with hard water, and does it require any specific maintenance in such areas?
- I live out in Redlands, and I found you guys online. I have a DCS stove that needs some servicing, and I wondered if you guys come all this way or if you know someone in Redlands who can service my stove. I have a 6-burner stove with a grill.
- How to maintain and service the Coleman P Series 20 SEER2 Single Zone Mini Split Heat Pump System?
- I just wanted to check. I had stopped a contract for the oven repair the other day. You said you'll send a photograph of the voided check; I haven't got that.
- Is it okay to use a Rinnai RU Model Series tankless water heater, such as the RU180iP, in conjunction with a solar water heating system?
Similar Blog
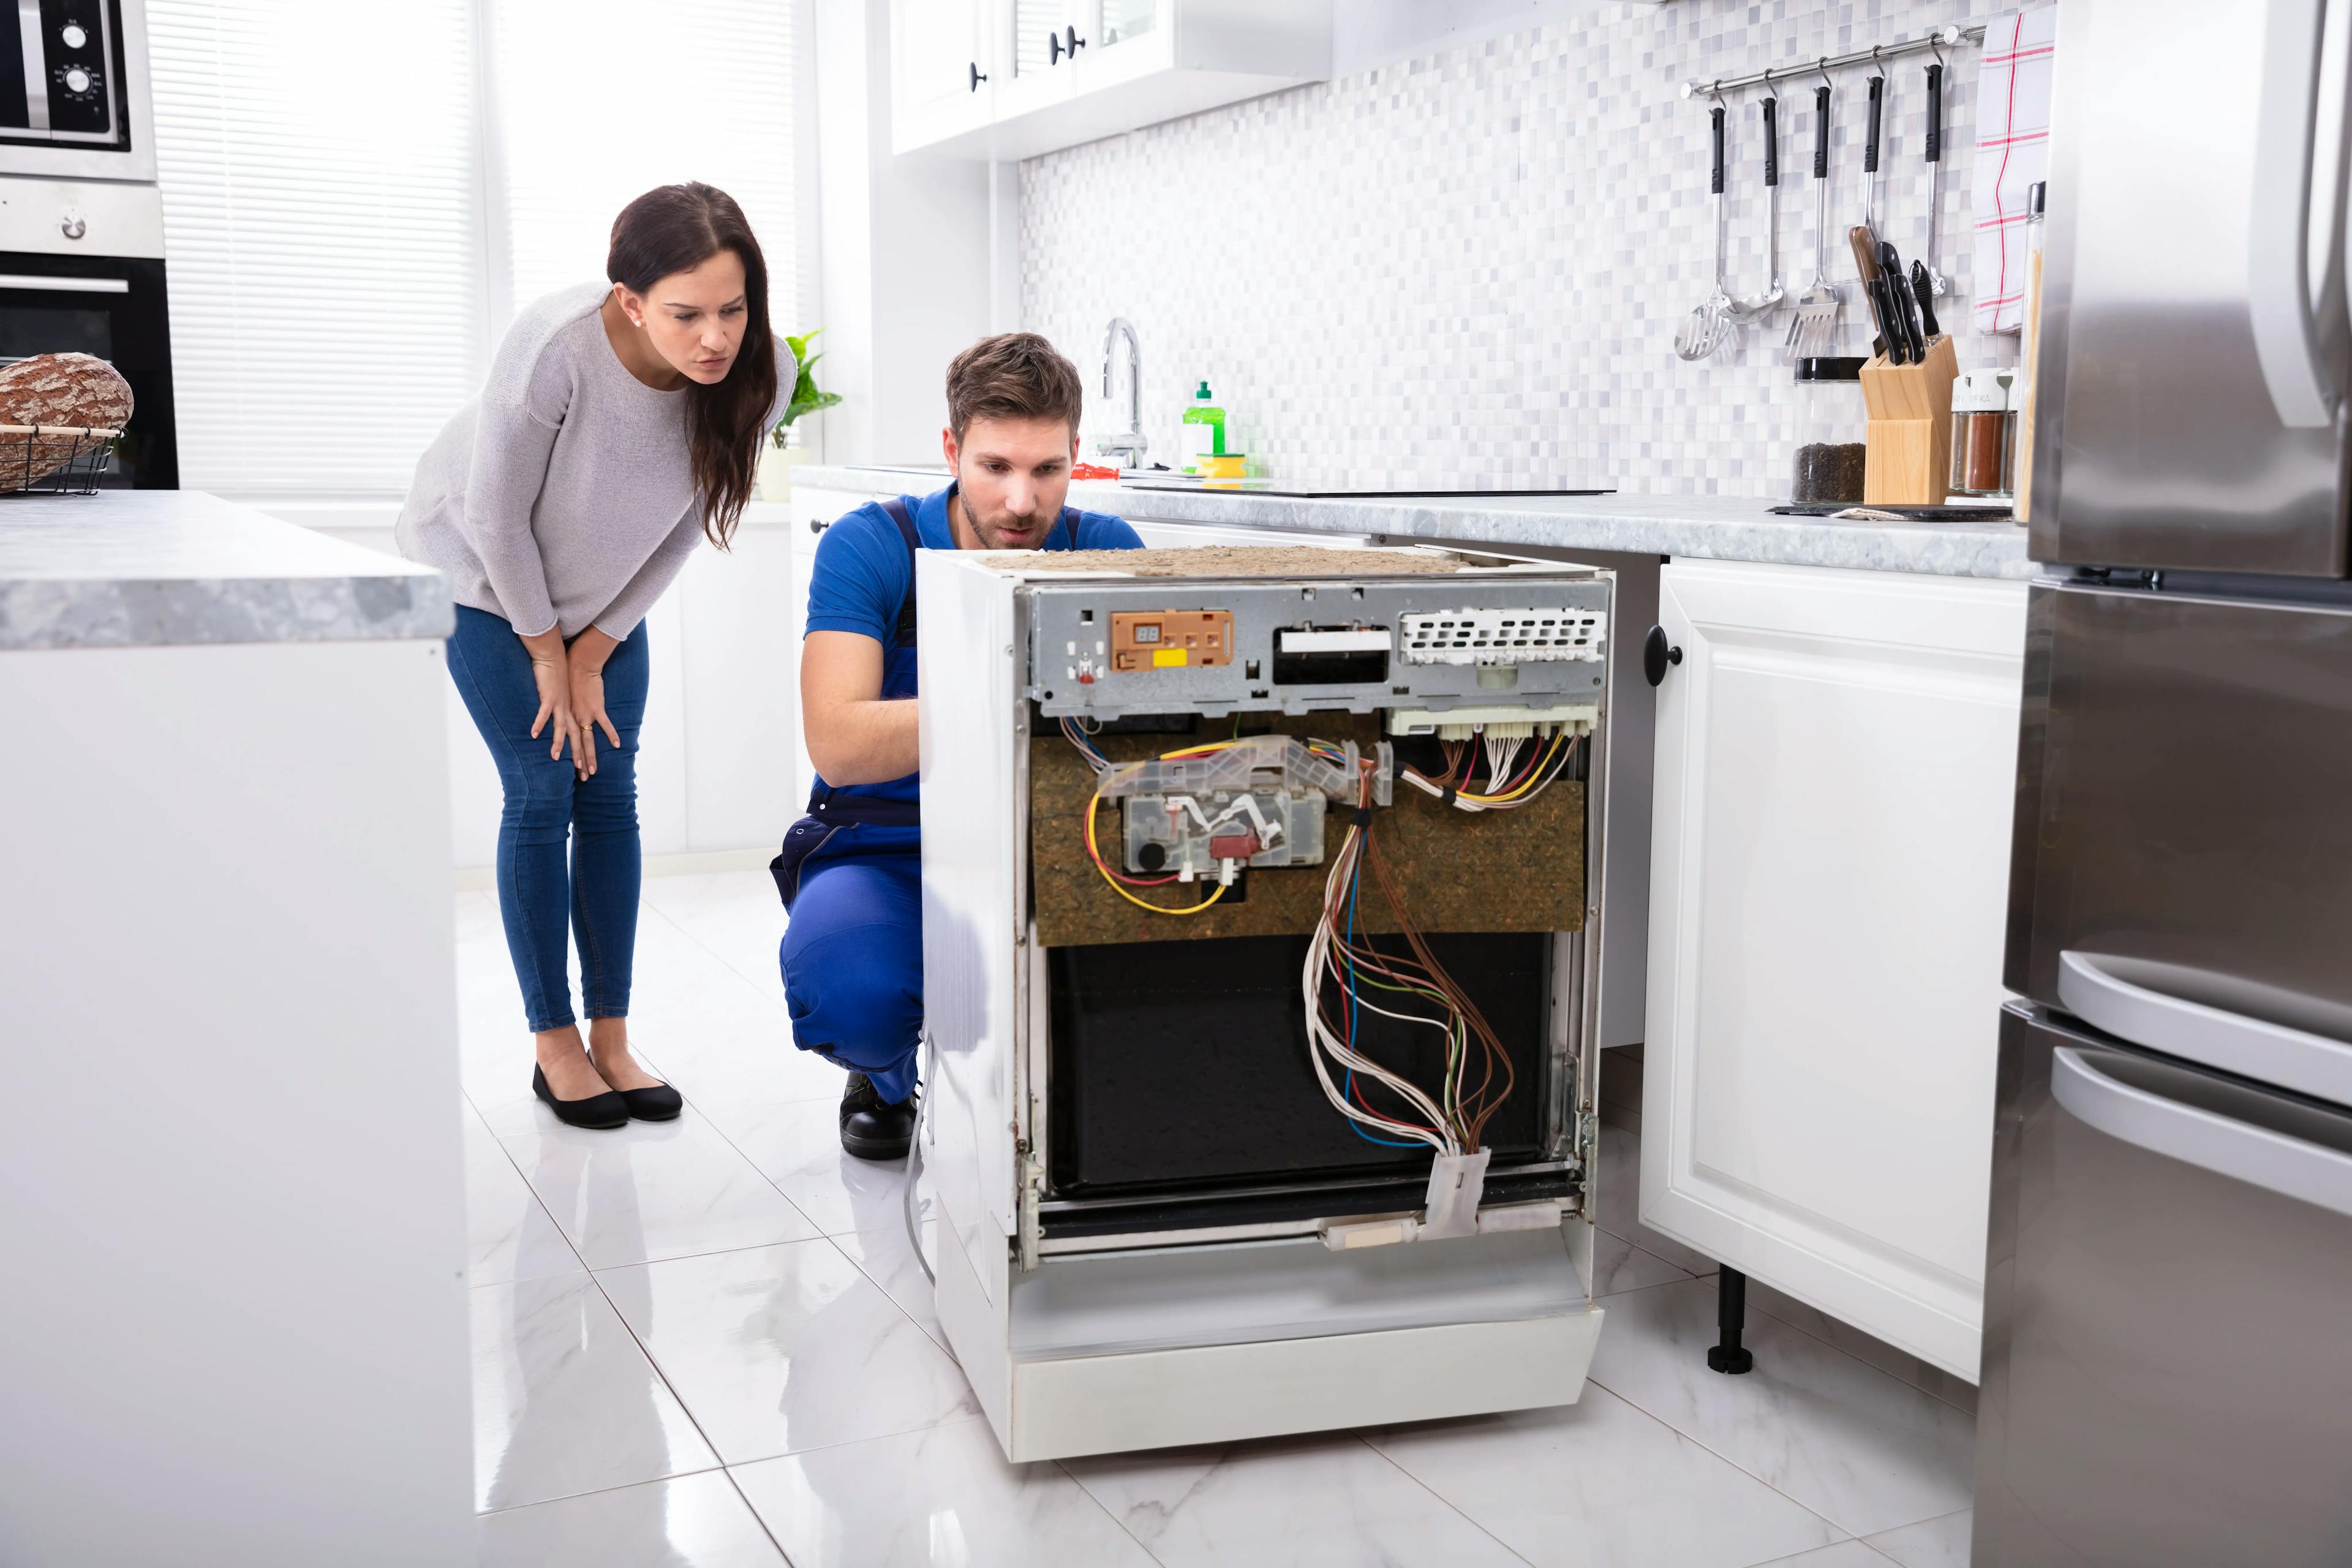
January 21
9647
Home appliances
Extending the Lifespan of Your Appliances in 2024
It is important to take proper care of your electronic devices to ensure that they perform optimally and last longer. Whether you own a laptop, smartphone, or t...
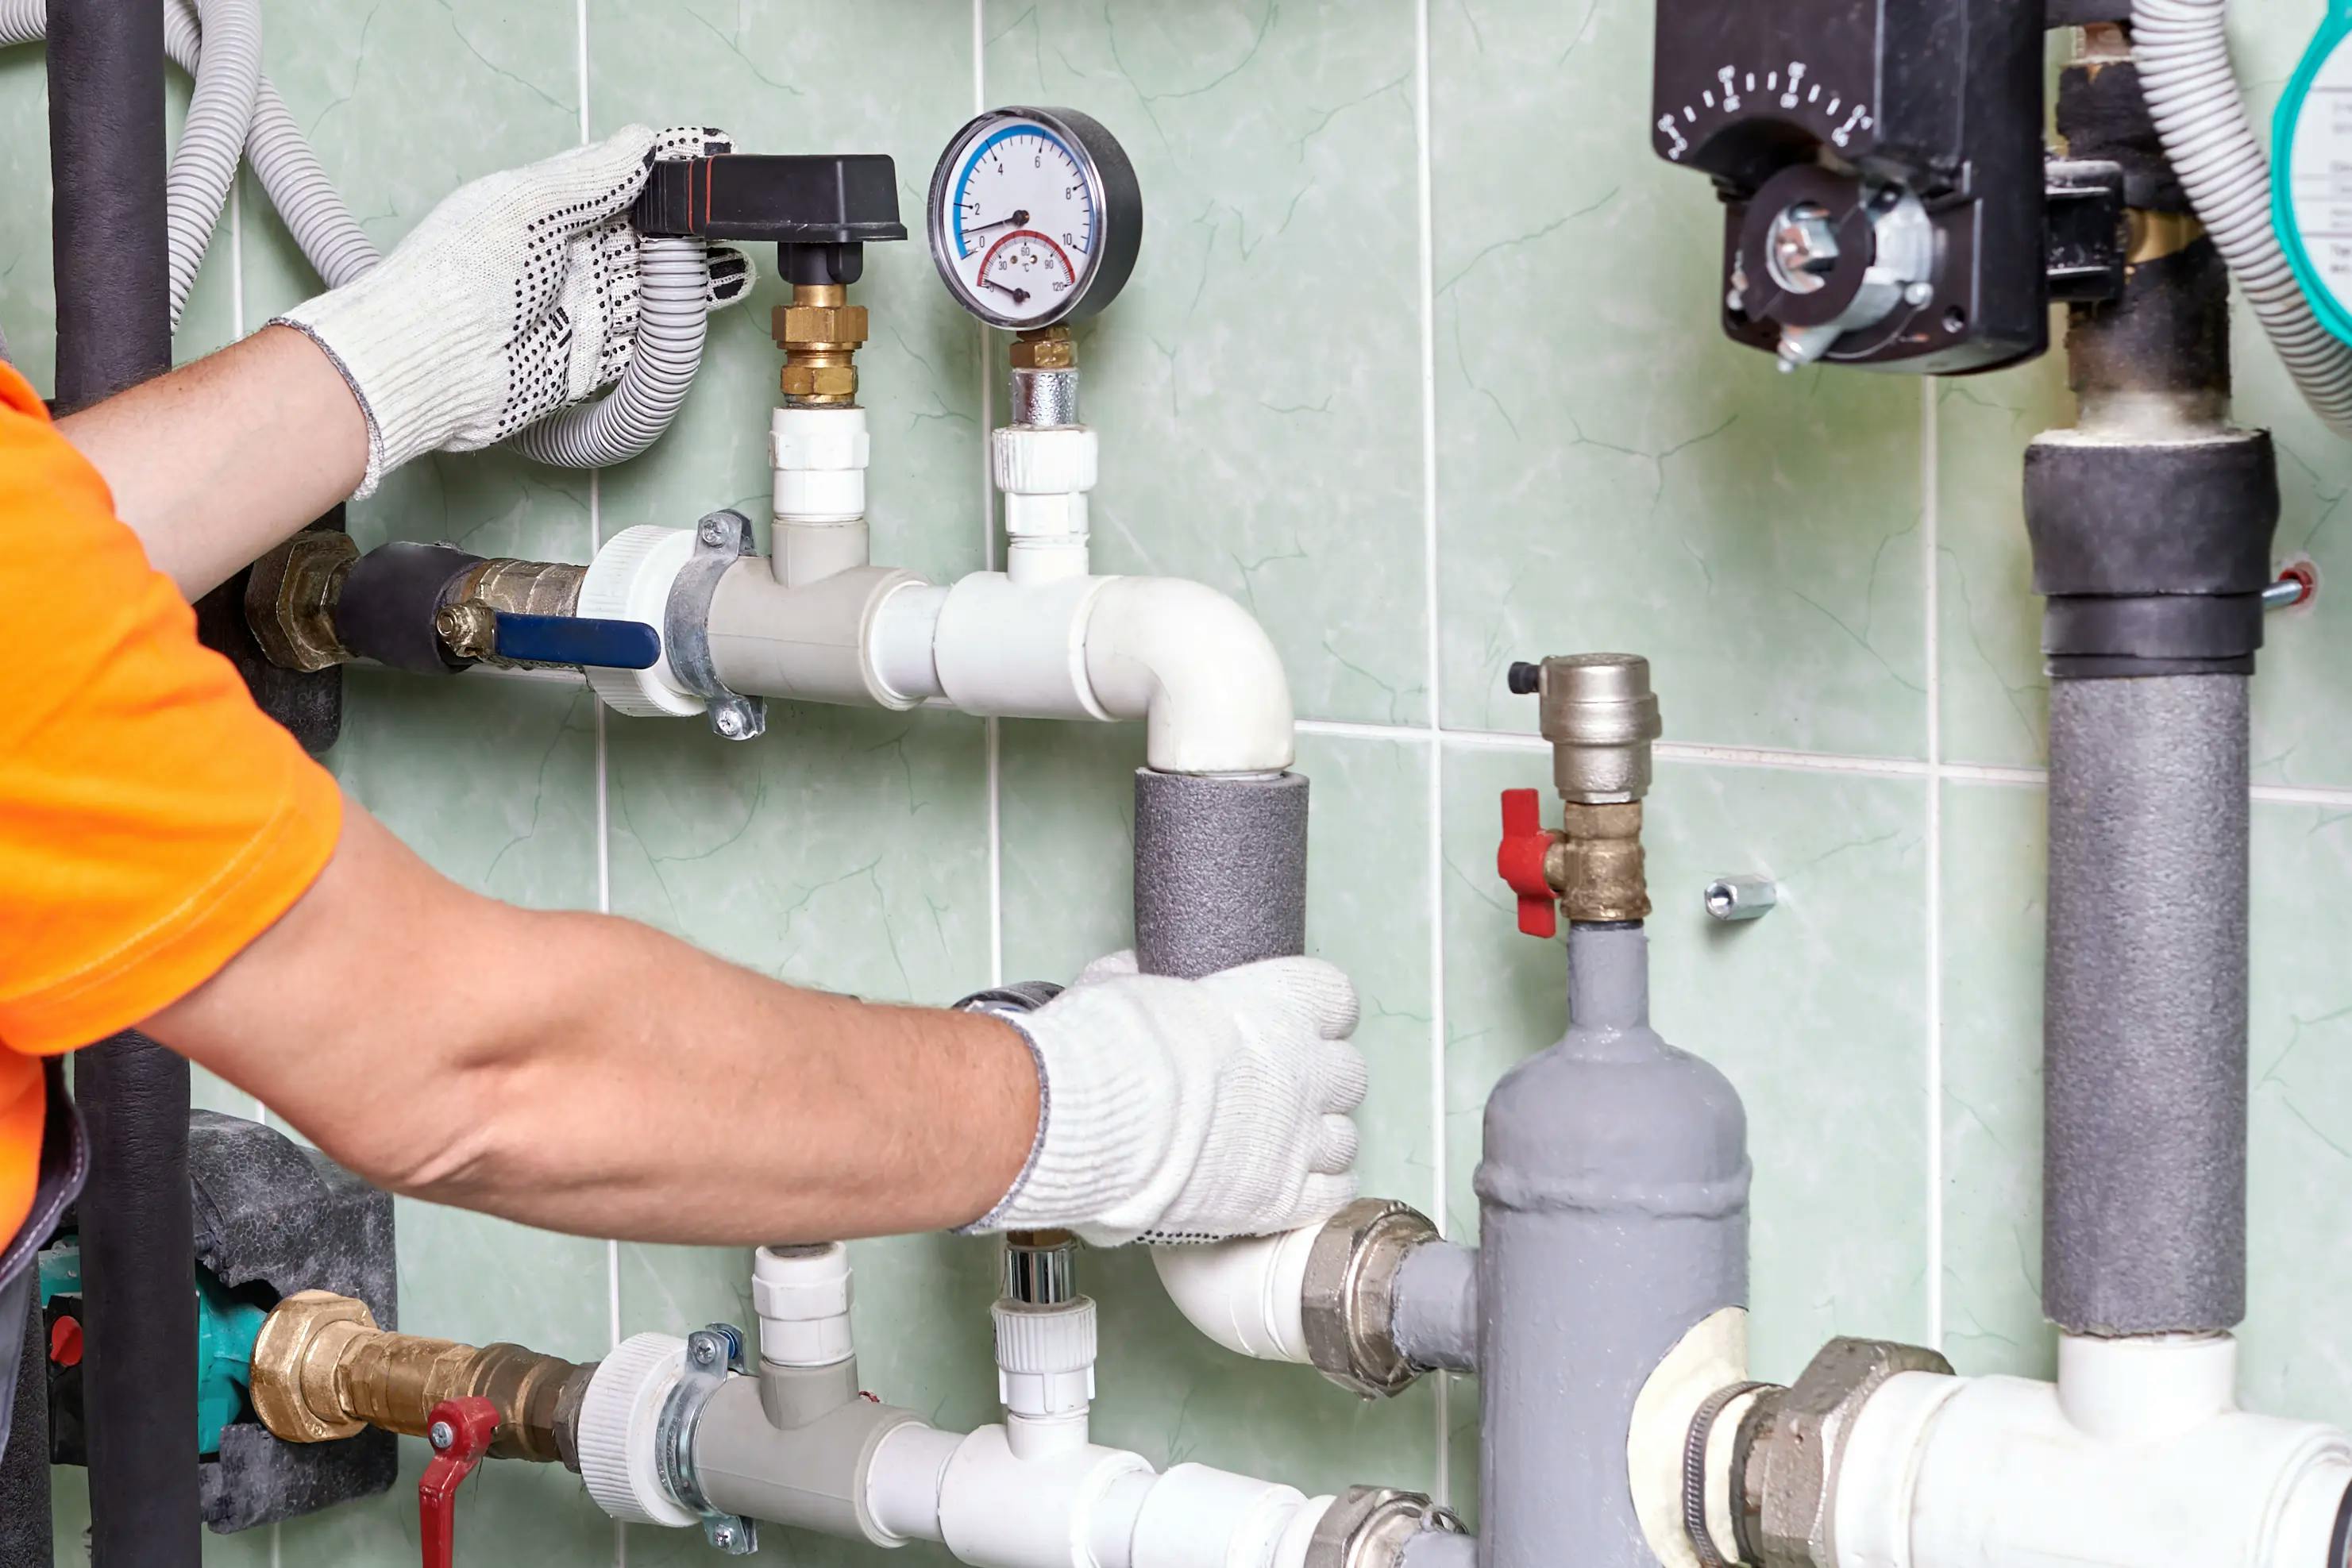
December 18
8811
Heating and Cooling
Furnace Sounds That Signal You Need Heater Repair in Los Angeles
Is your furnace trying to tell you something? While it may not speak in words, it communicates through a language of its own – the sounds it makes. Living in Lo...
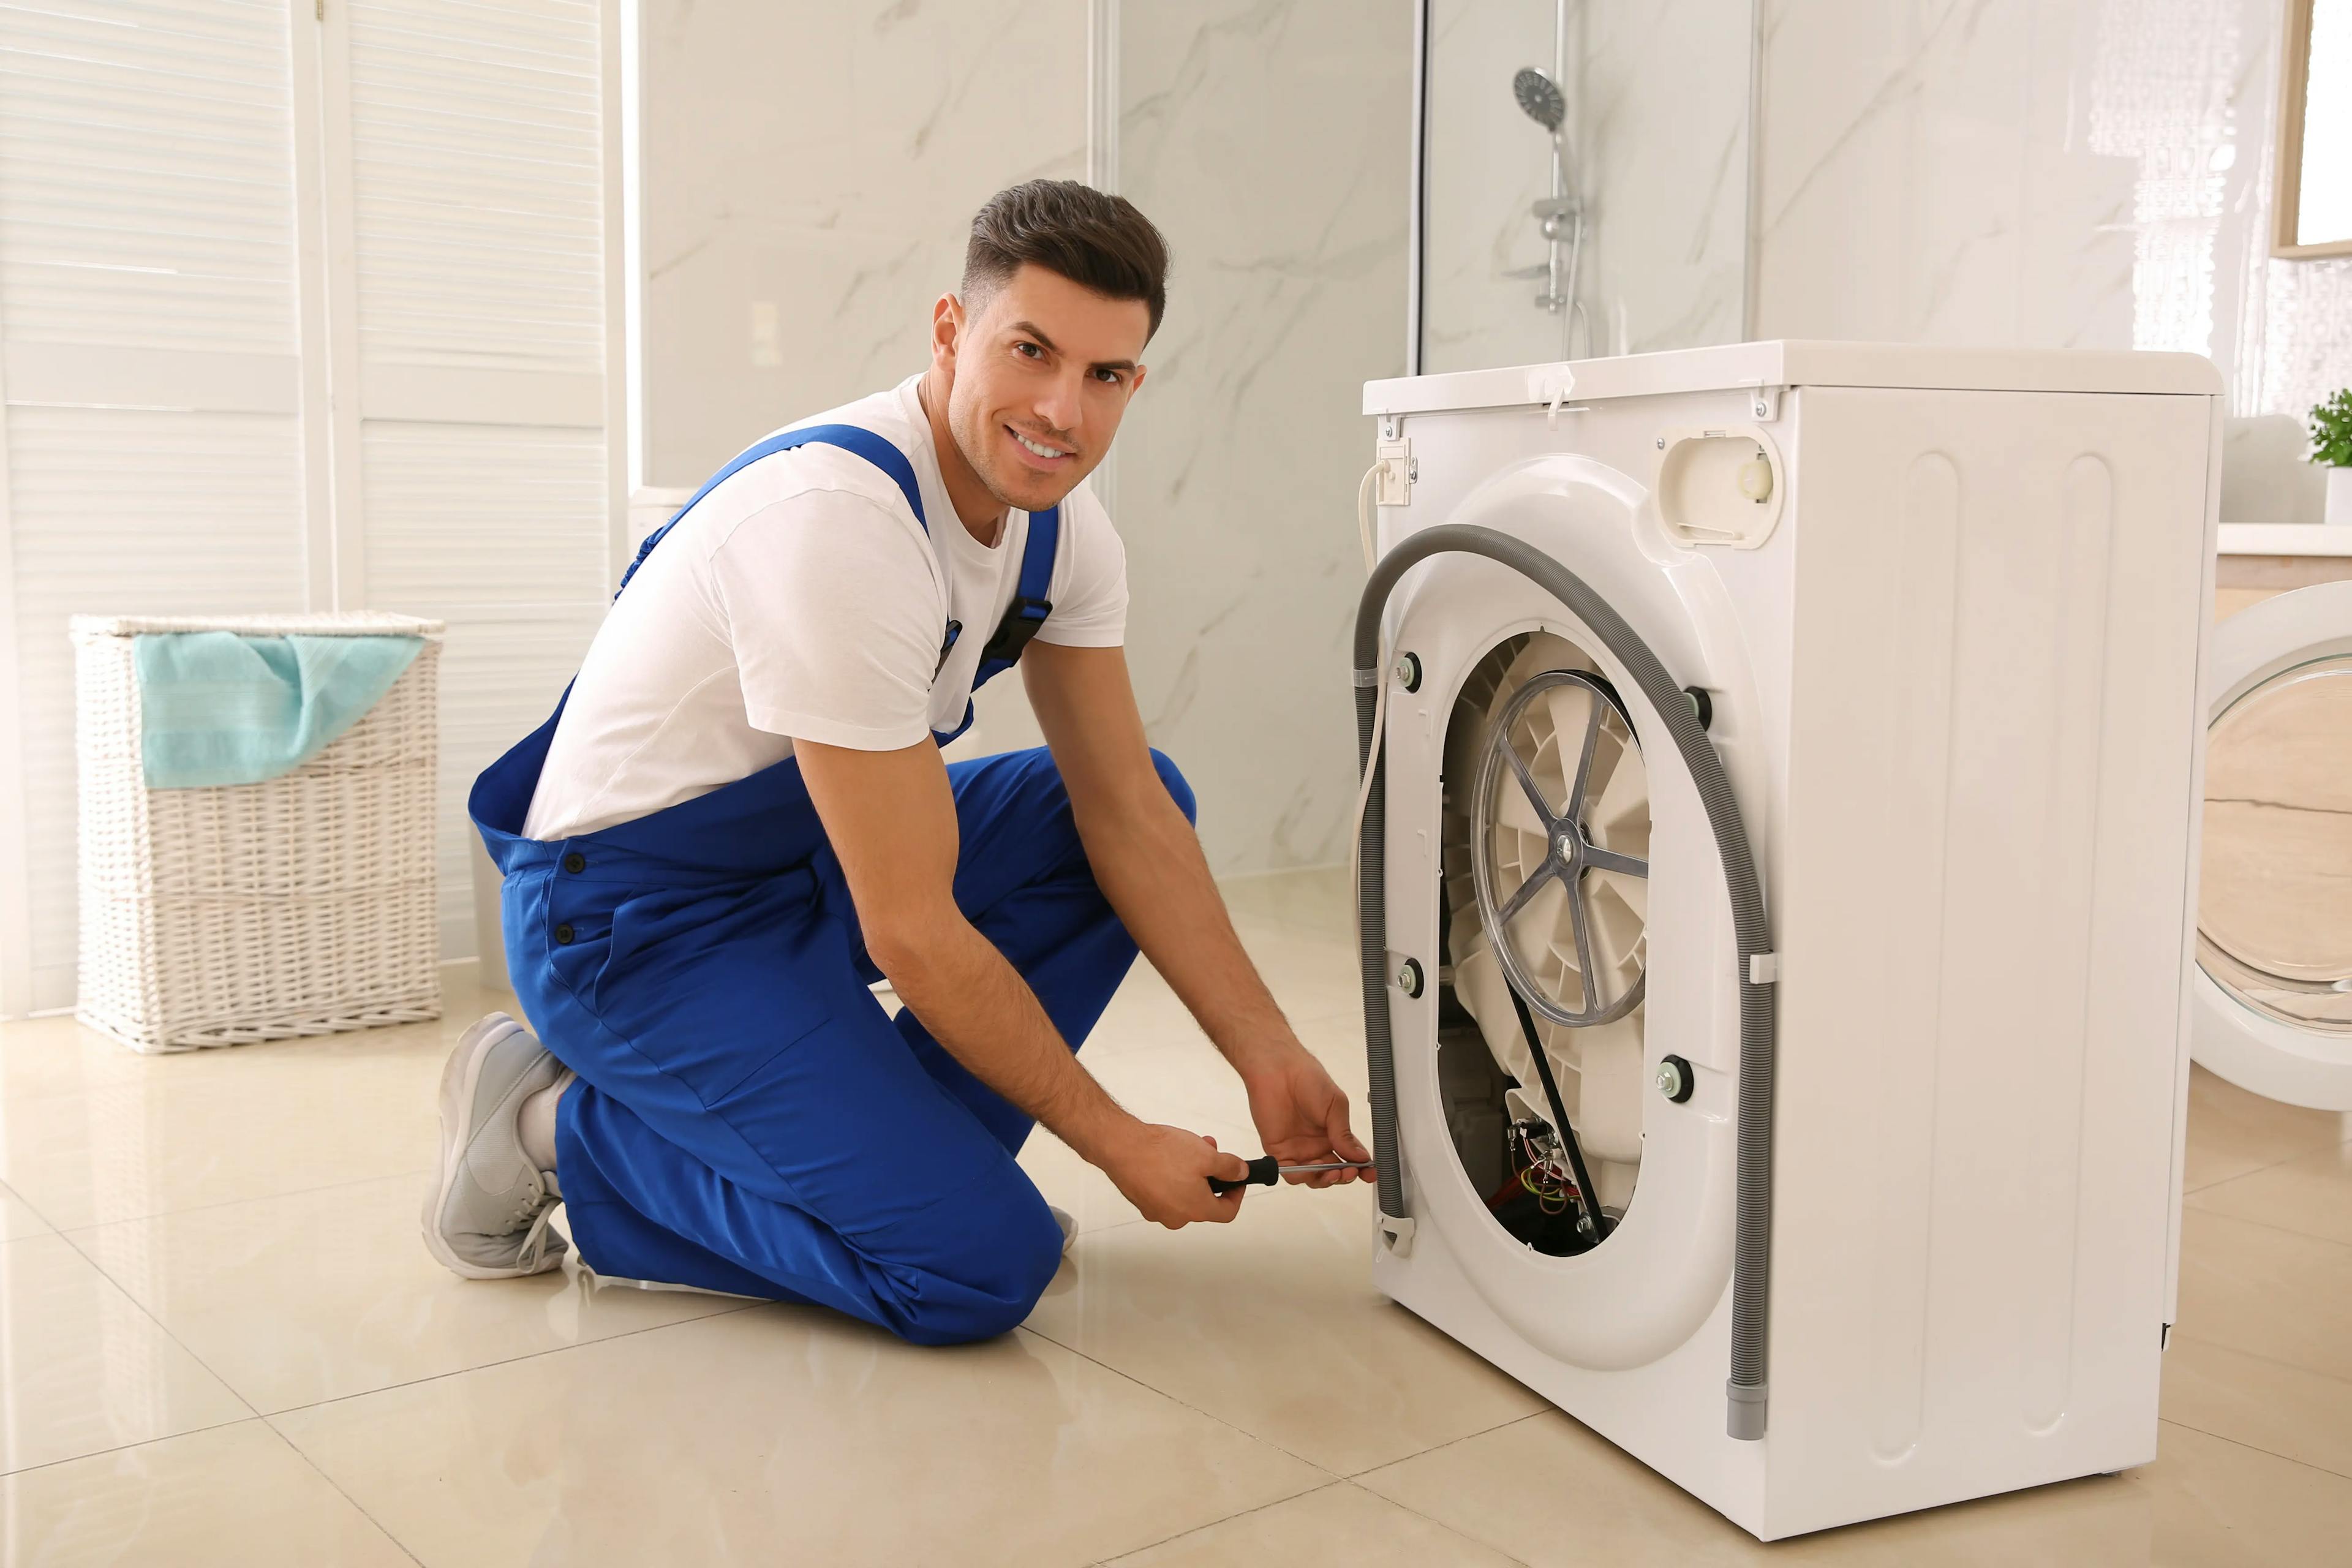
October 21
14880
Home appliances
How to Balance a Washing Machine Drum in Top or Front Loader Washer
How to Balance a Washing Machine Drum? Imagine the frustration of a washing machine shaking like a wild carnival ride, threatening to topple over with every sp...
Couldn't find the right question?
You can send your question to our support team. We'll get back to you as soon as possible