Ask us anything
What should be the best practices for winterizing my Bryant heat exchanger in the Evolution series?
Winterizing your Bryant heat exchanger in the Evolution Series is essential to protect it from freezing temperatures and ensure efficient operation during the cold season. Proper winterization can prevent damage and costly repairs. Here are some best practices for winterizing your heat exchanger:
1. Schedule Professional Maintenance:
Before winter arrives, it's advisable to schedule a professional HVAC technician to inspect and tune up your Bryant Evolution Series heat exchanger. They can identify and address any issues that may affect its performance during the winter.
2. Clean and Inspect the Heat Exchanger:
Ensure that the heat exchanger is clean and free from dirt, dust, and debris. A clean heat exchanger can operate more efficiently and prevent potential blockages.
3. Check for Leaks:
Inspect the heat exchanger for any signs of leaks, such as corrosion or rust. Address any leaks promptly to prevent further damage.
4. Test the Ignition System:
Verify that the ignition system is working correctly. This includes checking the pilot light or electronic ignition for proper functioning. A malfunctioning ignition system can lead to heating issues.
5. Change or Clean Air Filters:
Dirty or clogged air filters can restrict airflow and reduce the heat exchanger's efficiency. Replace or clean the air filters according to Bryant's recommendations.
6. Insulate Exposed Pipes:
If any pipes connected to the heat exchanger are exposed to cold air, consider insulating them to prevent freezing and potential damage.
7. Seal Leaks and Drafts:
Inspect doors, windows, and other openings for drafts and leaks. Seal any gaps with weatherstripping or caulk to prevent cold air infiltration.
8. Set the Thermostat:
Adjust your thermostat settings for winter comfort. Consider lowering the temperature when you're away from home and raising it when you're present to save energy.
9. Install a Carbon Monoxide Detector:
If you haven't already, install a carbon monoxide detector near the heat exchanger to monitor for any potential leaks.
10. Keep the Area Around the Heat Exchanger Clear:
Ensure that the area around the heat exchanger is clear of clutter, flammable materials, and obstacles. Proper clearance is essential for safety.
11. Monitor for Unusual Sounds or Odors:
Throughout the winter, listen for any unusual sounds or odors coming from the heat exchanger. These can be signs of issues that require attention.
12. Emergency Shut-Off Procedures:
Familiarize yourself with the emergency shut-off procedures for the heat exchanger and other heating equipment in case of emergencies.
13. Consider a Backup Heating Source:
In case of a heating system failure, it's a good idea to have a backup heating source or an alternative heating plan in place to keep your home warm.
14. Regularly Check and Replace Batteries:
If your heat exchanger or thermostat uses batteries, ensure they are fresh and replace them as needed to prevent unexpected shutdowns.
15. Create a Winter Maintenance Schedule:
Create a schedule for regular checks and maintenance tasks throughout the winter to ensure that your heat exchanger continues to operate smoothly.
By following these best practices for winterizing your Bryant Evolution Series heat exchanger, you can help ensure efficient and reliable heating during the colder months while also extending the lifespan of your HVAC system. If you encounter any issues or are unsure about any aspect of winterization, don't hesitate to consult with a qualified HVAC technician for professional guidance and assistance.
1. Schedule Professional Maintenance:
Before winter arrives, it's advisable to schedule a professional HVAC technician to inspect and tune up your Bryant Evolution Series heat exchanger. They can identify and address any issues that may affect its performance during the winter.
2. Clean and Inspect the Heat Exchanger:
Ensure that the heat exchanger is clean and free from dirt, dust, and debris. A clean heat exchanger can operate more efficiently and prevent potential blockages.
3. Check for Leaks:
Inspect the heat exchanger for any signs of leaks, such as corrosion or rust. Address any leaks promptly to prevent further damage.
4. Test the Ignition System:
Verify that the ignition system is working correctly. This includes checking the pilot light or electronic ignition for proper functioning. A malfunctioning ignition system can lead to heating issues.
5. Change or Clean Air Filters:
Dirty or clogged air filters can restrict airflow and reduce the heat exchanger's efficiency. Replace or clean the air filters according to Bryant's recommendations.
6. Insulate Exposed Pipes:
If any pipes connected to the heat exchanger are exposed to cold air, consider insulating them to prevent freezing and potential damage.
7. Seal Leaks and Drafts:
Inspect doors, windows, and other openings for drafts and leaks. Seal any gaps with weatherstripping or caulk to prevent cold air infiltration.
8. Set the Thermostat:
Adjust your thermostat settings for winter comfort. Consider lowering the temperature when you're away from home and raising it when you're present to save energy.
9. Install a Carbon Monoxide Detector:
If you haven't already, install a carbon monoxide detector near the heat exchanger to monitor for any potential leaks.
10. Keep the Area Around the Heat Exchanger Clear:
Ensure that the area around the heat exchanger is clear of clutter, flammable materials, and obstacles. Proper clearance is essential for safety.
11. Monitor for Unusual Sounds or Odors:
Throughout the winter, listen for any unusual sounds or odors coming from the heat exchanger. These can be signs of issues that require attention.
12. Emergency Shut-Off Procedures:
Familiarize yourself with the emergency shut-off procedures for the heat exchanger and other heating equipment in case of emergencies.
13. Consider a Backup Heating Source:
In case of a heating system failure, it's a good idea to have a backup heating source or an alternative heating plan in place to keep your home warm.
14. Regularly Check and Replace Batteries:
If your heat exchanger or thermostat uses batteries, ensure they are fresh and replace them as needed to prevent unexpected shutdowns.
15. Create a Winter Maintenance Schedule:
Create a schedule for regular checks and maintenance tasks throughout the winter to ensure that your heat exchanger continues to operate smoothly.
By following these best practices for winterizing your Bryant Evolution Series heat exchanger, you can help ensure efficient and reliable heating during the colder months while also extending the lifespan of your HVAC system. If you encounter any issues or are unsure about any aspect of winterization, don't hesitate to consult with a qualified HVAC technician for professional guidance and assistance.

Similar Questions
- My air conditioner does not seem to be cooling, so I turned the thermostat down. Shouldn’t it work better if it is set to a lower temperature?
- How many filters does a Kenmore Coldspot model #106.51133 213 have?
- I have a Maytag Bravo side-by-side dryer that doesn't seem to be drying completely. It's about a year and a half, so I think it's still under warranty.
- How can I ensure proper drainage and prevent clogs in the Adora Series dishwasher model DDT700SSFSS?
- What size wire do I need to run a 220v welder?
- How Much It Will Cost To Repair My Appliance?
- Where should I place the Rheem EcoNet Enabled Classic Plus Series Two-Stage Air Conditioner (RA17) for even cooling?
- I live in Middle Village, and I think I have an issue with my boiler.
- How to fix a leaking refrigerator?
- What does a blinking red light mean on a Trane furnace?
Similar Blog

December 27
863
Home appliances
Top Refrigerator Deep Cleaning Tips After Holidays
After the holiday season, your refrigerator may be filled with leftovers, spills, and unwanted odors. To ensure your fridge stays in top condition, it’s essenti...
August 08
954
Plumbing
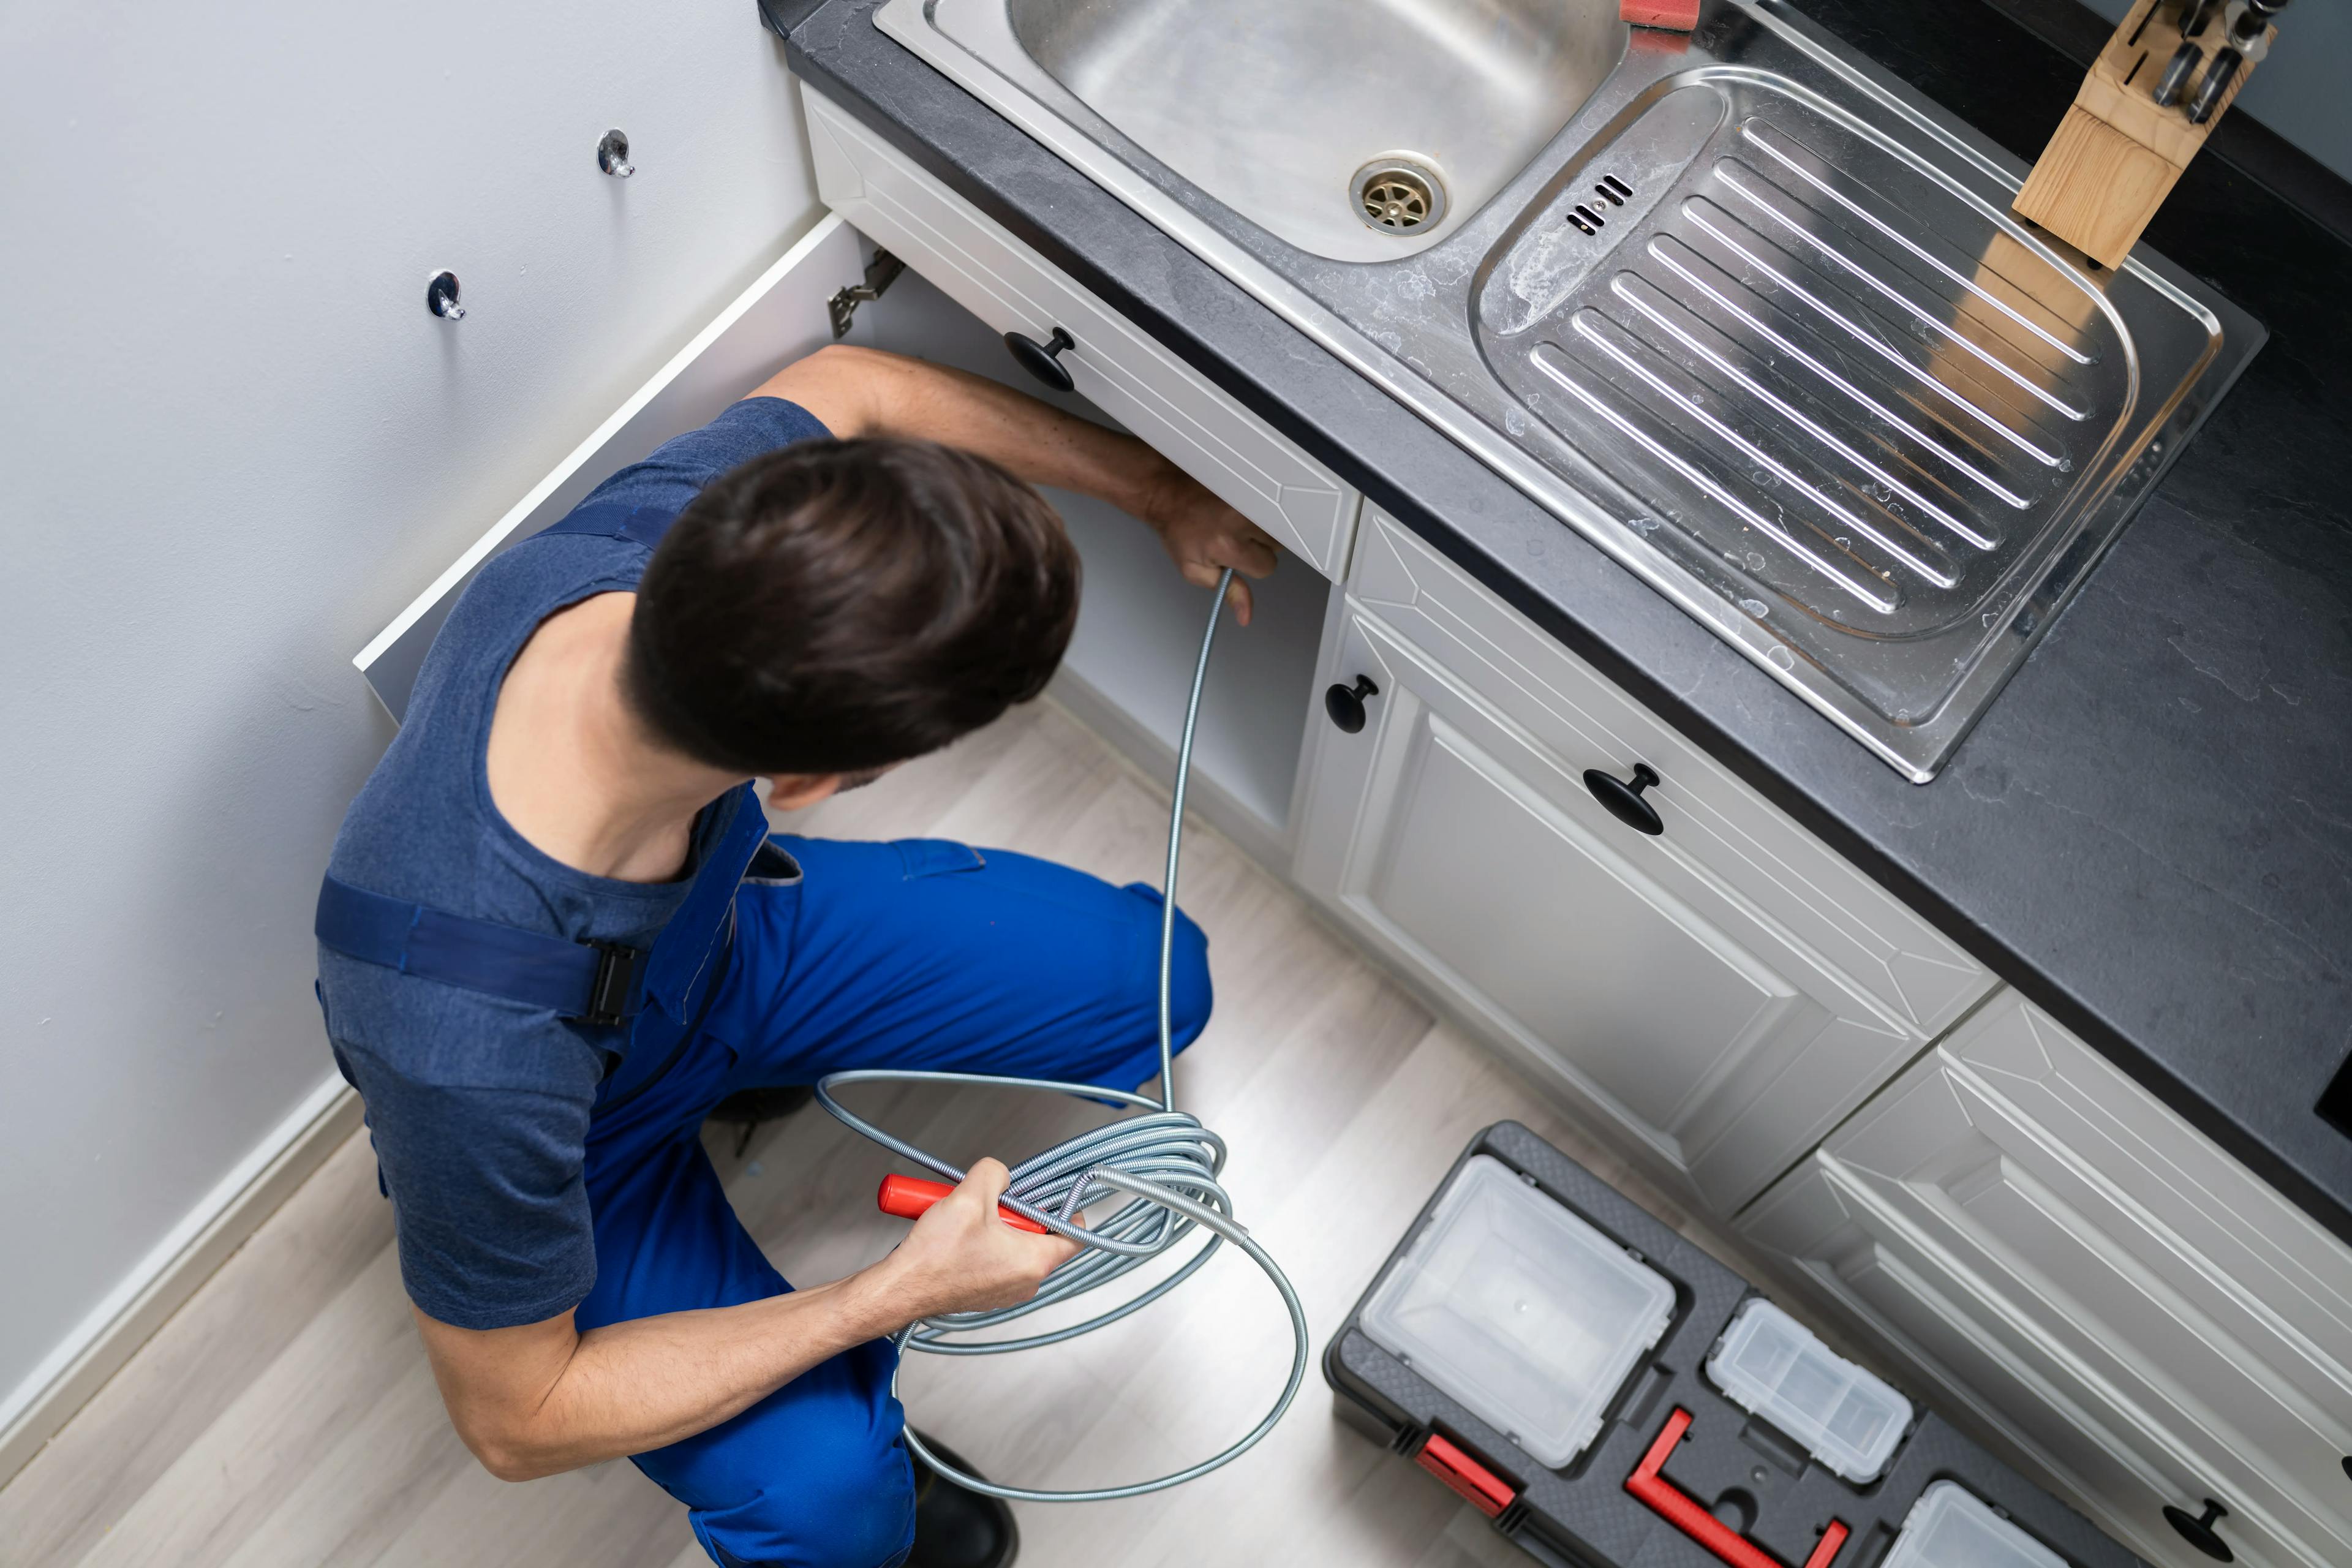
How to Unclog a Kitchen Sink: Tips and Tricks for a Smooth Flow
A clogged kitchen sink can disrupt your everyday routine and throw a wrench in meal prep and cleanup. Dealing with a kitchen sink clogged scenario is not only f...
December 19
1030
Electrical
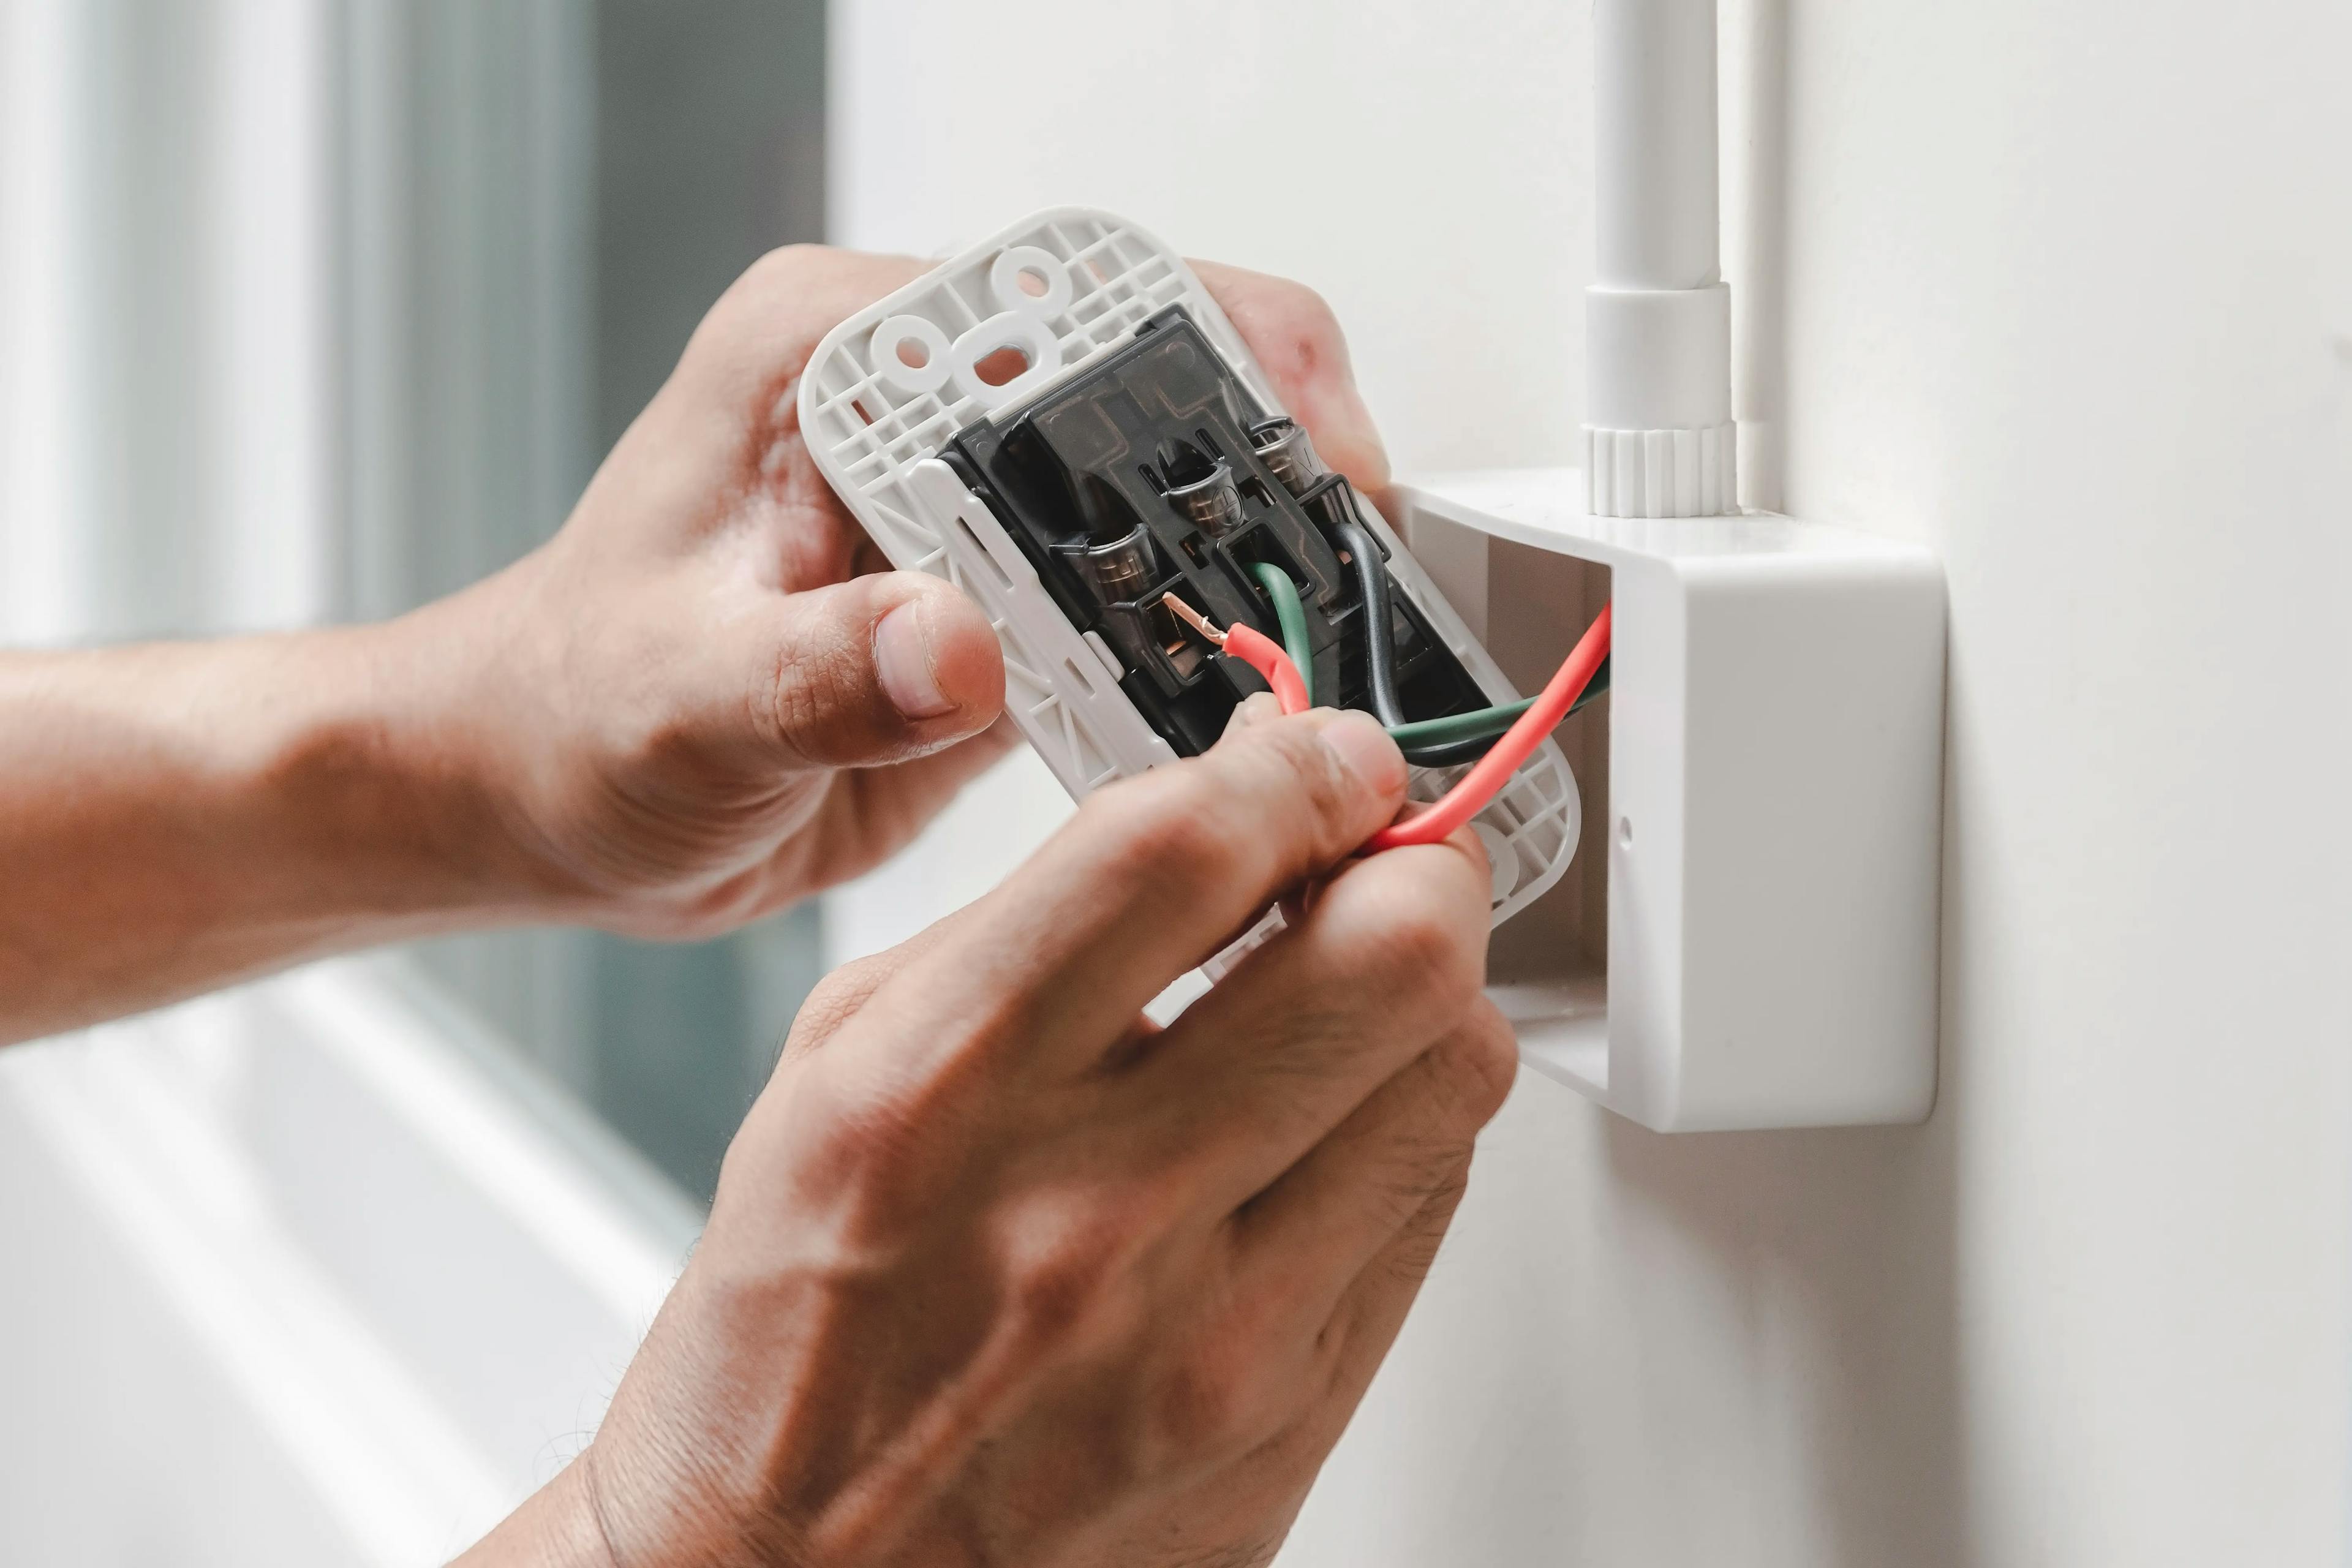
What are the proper ways to handle an electrical emergency?
Being able to act quickly and securely during an electrical emergency is crucial. We'll go over how to handle an electrical emergency in this talk, including cr...
Couldn't find the right question?
You can send your question to our support team. We'll get back to you as soon as possible